There have been a few requests for both application and removal tips regarding glue-ons, so here’s the whole shebang in one post! If you are more of a video person there are company provided Youtube videos on the same.
Application

You will need:
- denatured Alcohol, DA: (NOT rubbing alcohol)–can be found at Home Depot or equivalent
- nitrile gloves–GLOVES ARE GOOD!!
- glue gun
- Glue ons, with spares, and ideally a size above and below the size you think you need (I just had 6 size 0s, the size he wears in strap-on)*
- Glueing tips, plenty to spare*
- fresh tube of Adhere*: while you can keep a used tube around at ride weekend, if you are gluing for a new event: don’t cheap out, buy new glue!
- approx. 40 grit sandpaper–I used both block and flat paper and they were both good
- tin snips or similar to cut notches in shell if needed
- Hoof stand
- rasp
- hoof nippers–to nip off excess boot shell if needed
- if weather is over 70, cooler with ice to rest glue in before use
- paper towels
- trash bag
*available at Renegade Hoof Boots
Hoof prep is key in gluing. Vigorous sanding of the lower 3/4 of the hoof must be done until no imperfections can be seen or felt. This is Morgan/Welsh Kenny’s wonkiest foot after sanding, hard to tell here but it’s high to the outside among other things. This foot particularly did not entirely seat in the glue on shell and gapped the quarters out, which is highly inconvenient as the quarters are your main glue adhesion area.

Fortunately, with tin snips or similar, you can cut triangular notches in the boots as needed to adapt fit. In this case, we cut *2*small triangle notches out of each front boot. Just like that, with flex points added by notching, the boot was able to match the odd angles and seated well at the toe, with nearly zero quarter gapping. You can see here how unevenly seated that right front looks, that’s merely an accurate reflection of the high sided hoof/crooked leg. The left front is more normal but also benefitted from the notches, while his hinds are quite regular and required no alteration. (that left hind hasn’t been prepped/sanded yet in this photo)

After sanding the bottom 3/4 of the hoof AND the inside of the boot shell, the shell and hoof are carefully cleaned with denatured alcohol, placing a spare shell on the cleaned hoof as a slipper so it doesn’t retouch the ground. Glue is squirted around the quarters and toe of the boot, ever careful not to get any on the sole, and the boot is applied *quickly* and held strongly in place, with thumbs pressing down the quarters to really encourage a smooth tight seal. The glue is warm to the touch as it sets and you can feel from the outside where glue is smooth to hoof and where there are gaps (ideally there aren’t gaps). After a few minutes of holding the hoof up and pressing, the hoof can be set down, but it’s important the horse not wiggle or torque while the glue is setting. Holding up the opposite leg can assist in stillness.

Kenny rocks his glue-ons at Whiskeytown Chaser 2016
Removal
I removed Kenny’s Renegade Hoof Boots glue-ons in about 30 minutes.
Note: You can carefully break the glue seal and pry off the boots, using a dremel to remove excess glue for shell re-use. Illustrated here is recommended company one time use and removal.
You will need:
*Box cutter
*hoof nippers
*flathead screw driver
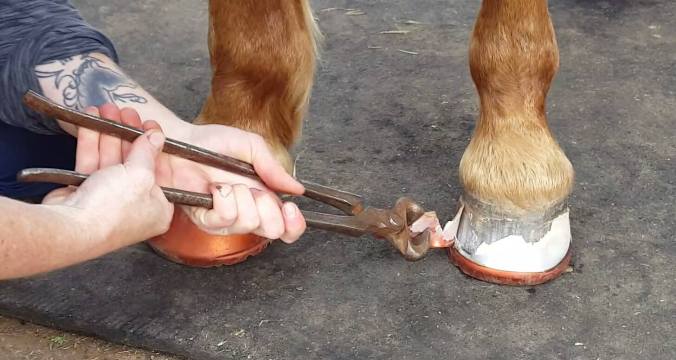
Cut along the bottom of the shell, there are guidance lines around quarters

Grab hold of the back of the boot, nipping a starter notch/prying up with screwdriver if necessary

Peel the top of The boot shell away along your cut
(if you peel more slowly than I did here, you can get the glue off with the boot all at once better than this too)
Only boot Sole remains, easily wiggled off/pop with screwdriver if necessary

Carefully grab hold of glue chunks and peel them off, prying up with flathead if necessary
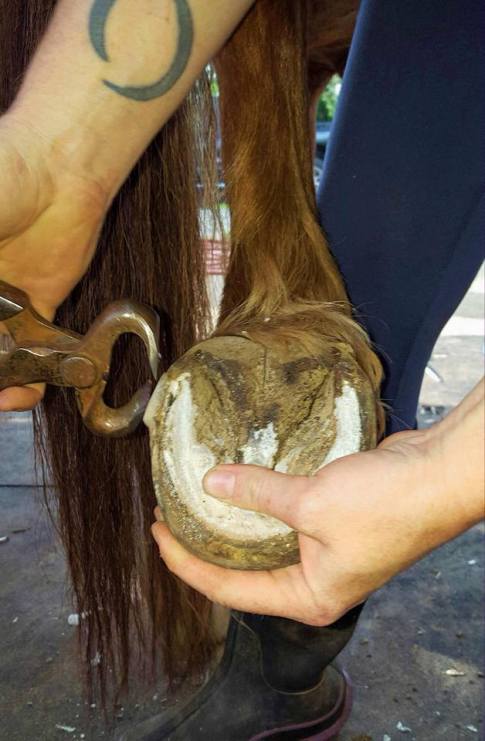
Hind and front, post glue-on removal/hoof knife clean up


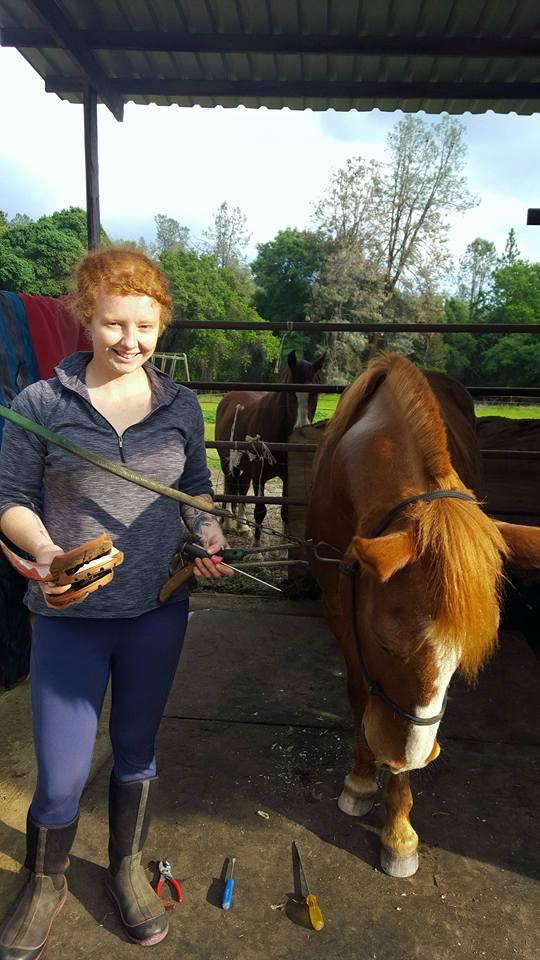
Take a bow Kenny!

You can’t re-use them the way you remove them. Moving around the hoof wall with a flat screwdriver to crack the glue and unstuck it from the hoof or boot, then prying it off with the end of the screwdriver coming down from the frog to the sole.
To remove glue from boot. Sometimes you can pry or pull pieces of, the rest dremell it down.
That’s what I’ve seen done. For sure if the grip under the boot is preaty used up it won’t matter but for those that have a quantity of grip left it can be worth it.
I’m well aware of that. This was how to, as per recommended company use.
Good write up Aurora! May I make a few suggestions on top of what you already took the time to write so well.
The notches that you cut, I would recommend using a hand held hole punch, like what you use to punch holes into tack, and at the tip of the notch, punch a hole there. I have had the glue cuff tear at the notches before and this has eliminated any chances of that happening.
Do not apply glue to the last third of the glue cuff near the sole or you could risk getting glue on the sole and that can cause some issues.
Also for those of us, like me, who are in humid areas, I would recommend getting a hand held butane torch, heat gun or even a hair dryer set on high, and run it across the hoof to remove any moisture in the hoof wall as this will help the Adhere bond better to the hoof.
Thanks for the tutorial. Do they come in more colors than orange? They kind of make your horse look like a my little pony…all you’re missing is the cutie mark and unicorn horn. 🙂
They were copper boots. Yes, many colors
http://www.renegadehoofboot.com/pro-compglue-ons.aspx