While we “only” rode the LD at Whiskeytown, this involved bringing home and starting conditioning on a non Arabian with a few challenges, something that others may find interesting, as I certainly have and continue to.
HORSE
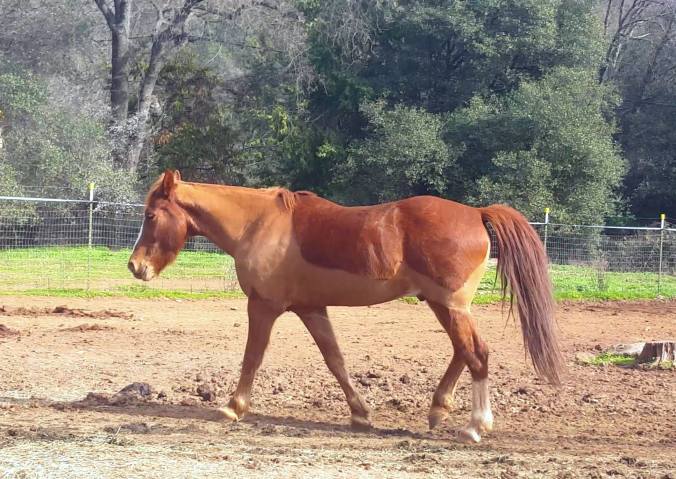
Kenny the Morgan/Welsh pony came home in November 2015. He was approximately 10 years old, had been broke to ride on the tough Whiskeytown trails themselves, and had been living on pasture with a few years of light work under his girth when I got him.
trail ride in Redding the day he came home
(and a saddle he would never wear again, way too wide!)

Kenny is the type of horse that you can throw a beginner on, tuck him behind some horses, and have a fine trail ride. However he had nearly zero experience leading, tracking straight, listening to his rider, being his own independent and polite citizen and riding entity basically. He is incredibly smart and incredibly half pony and that coupled with some leasors that he had successfully bullied in the past has led to some pretty strong chats about life in our few months together.
Home and in the program, husband safe, but lots of finite training and booting details to work out:


After dental and a chiro check, my attention was mainly focused on his excessive hoof growth, along with the facts that his front hooves are very upright *and* on his toed-out front legs crookedly. I have previously discussed my struggles and eventual success with booting him for conditioning Here. Aside from hoof adjustments and personality discussions, there was the undeniable fact that Kenny had a whole lot more hair than my Arabians and he was a foaming, sweaty mess after even 5 miles.
so hot bro

With help from his former owner/my good buddy T we spent one long afternoon giving Kenny a working clip and roaching off his mane. He was a total raging shit, throwing his body around dangerously, but Tera and I were determined, patient, and absolutely not having any of his shenanigans. The pony WILL NOT attempt bodily harm on humans was gradually firmed into his lexicon in a few sessions throughout the afternoon and by the end I was holding a loose rope in one hand and a doxie in the other as T finished the clip.And oh, it was so worth it, on all levels.
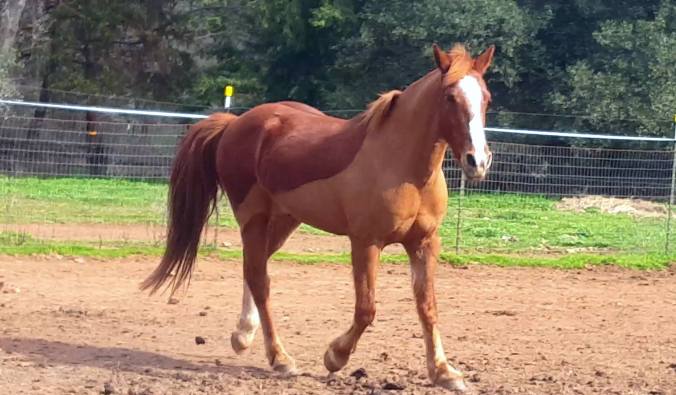
Lighter in hoof and body, we rode a total of 156.8 trail miles from the time of his arrival home in November to the last shake out ride before the Whiskeytown event (so a bit over 4 months). Most of the miles were in sub 10 mile intervals, taking a few hours each time.
ponying his buddy Apache and getting fit!

He finished a hilly 13 mile ride in February with plenty of sass left which was reassuring, so after 2 more 10 mile rides rides I bumped him to a 19 mile training ride that took about 5 hours and was 2 weeks before Whiskeytown. He finished that 19 miles feeling fresh, reassuring me that the LD was well within our grasp. I then turned him out to rest, aside from one more relaxed 5 mile leg stretcher the Monday before the event. This made the LD itself, a true 25 miler in tough terrain, the longest mileage he had yet done.
week before Whiskeytown


HOOFCARE CHOICES
Due to the previously mentioned wonky angles on Kenny’s fronts and the prospect of a local boot-killer ride (think bog+HILLS+Water..all day) in May becoming a 2 day event, my mind finally turned to learning to glue on Renegades. I’ve had great luck on all sorts of steeds and up to 50 miles distance with strap-on Renegades, but Kenny’s wild front feet presented challenges that made me not at all relish strap-on boots for events. Since I wanted to learn sooner than later, kind fellow Renegader and buddy Mel agreed to show me the ropes of gluing, while actually gluing on said boots herself so that I wasn’t relying on first time “skills” for an event.
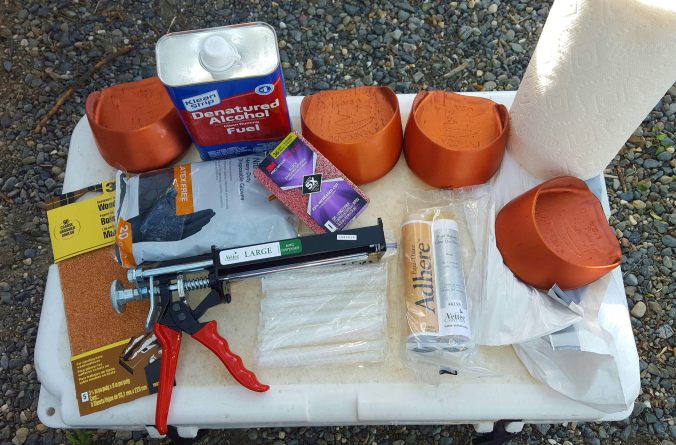
- denatured Alcohol, DA: (NOT rubbing alcohol)–can be found at Home Depot or equivalent
- nitrile gloves–GLOVES ARE GOOD!!
- glue gun
- Glue ons, with spares, and ideally a size above and below the size you think you need (I just had 6 size 0s, the size he wears in strap-on)*
- Glueing tips, plenty to spare*
- fresh tube of Adhere*: while you can keep a used tube around at ride weekend, if you are gluing for a new event: don’t cheap out, buy new glue!
- approx. 40 grit sandpaper–I used both block and flat paper and they were both good
- tin snips or similar to cut notches in shell if needed
- Hoof stand
- rasp
- hoof nippers–to nip off excess boot shell if needed
- if weather is over 70, cooler with ice to rest glue in before use
- paper towels
- trash bag
*available at Renegade Hoof Boots
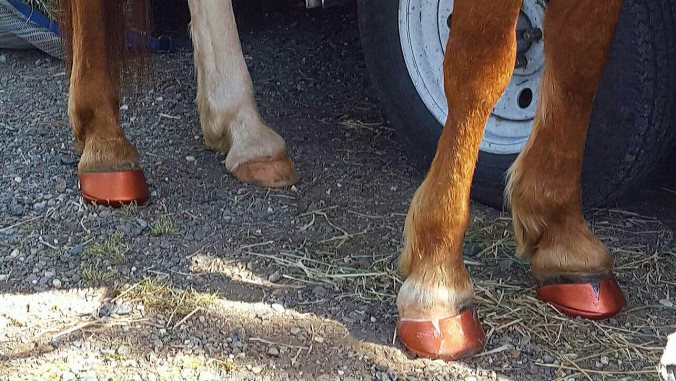
Hoof prep is key in gluing, and that was my main task as the student this time. Vigorous sanding of the lower 3/4 of the hoof must be done until no imperfections can be seen or felt. This is Kenny’s wonkiest foot after sanding, hard to tell here but it’s high to the outside among other things, I’ve been working diligently at bringing it down and even but it’s a process and his feet are *much* better than they were. This foot particularly did not entirely seat in the glue on shell and gapped the quarters out, which is highly inconvenient as the quarters are your main glue adhesion area.
Fortunately, Mel has done this a time or two, and promptly cut *2*small triangle notches out of each front boot (a few people said YOU KNOW THAT’S NOT CENTERED RIGHT??! There’s two notches..two). Just like that, with flex points added by notching, the boot was able to match his weird angles and seated well at the toe with nearly zero quarter gapping, so away we went. You can see here how unevenly seated that right front looks, that’s merely an accurate reflection of the high sided hoof/crooked leg. The left front is more normal but also benefitted from the notches, while his hinds are quite regular and required no alteration. (that left hind hasn’t been prepped/sanded yet in this photo)
I didn’t get more photos because I was actively learning but the basic process is this: After sanding the bottom 3/4 of the hoof AND the inside of the boot shell, the shell and hoof are carefully cleaned with DA, placing a spare shell on the clean hoof as a slipper so it doesn’t re touch the ground. Glue is squirted around the quarters and toe of the boot, ever careful not to get any on the sole, and the boot is applied *quickly* and held strongly in place, with thumbs pressing down the quarters to really encourage a smooth tight seal. The glue is warm to the touch as it sets and you can feel from the outside where glue is smooth to hoof and where there are gaps (ideally there aren’t gaps). After a few minutes of holding the hoof up and pressing, the hoof can be set down, but it’s important the horse not wiggle or torque while the glue is setting. Holding up the opposite leg can assist in stillness.
May we all have such helpful and hilarious friends! Glue and all around rockstar Mel photobombs
(check the matching redhead toe-outs too, hahaha)

And there we are–Kenny clipped, conditioned, glued, and ready to set off on his first AERC Adventure on a fine Friday morning: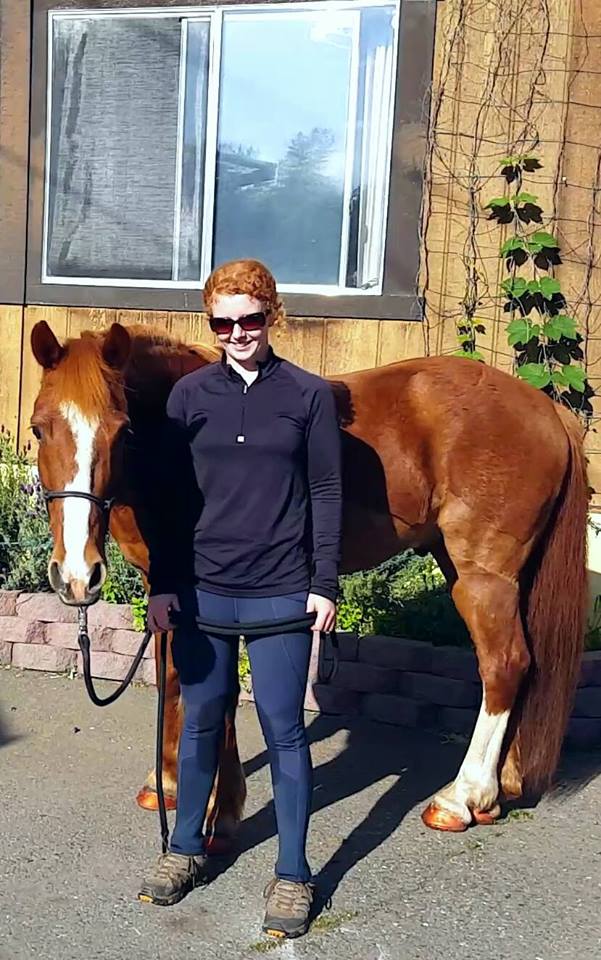
To Be Continued…

Gloves are so good! 😂😂
Great looking glue ons, good for you! That still makes me nervous, though I have all the stuff. Kenny was already a good pony, you did a very fine job polishing him up (including the awesome haircut) and made him a GREAT pony.
Pingback: Character Building or–Puzzles! | Redheaded Endurance
Pingback: May ’16 Link Luv | Boots and Saddles